Showing posts with label Project 52. Show all posts

Monday, March 19, 2012

Button Collector, 8/52

Look at me! Two weeks in a ROW! :)


This week's DIY is all me. No pinterest, no blogs, just me! While shopping at HobLob one day I found this lovely gem (please forgive my tired, no-makeup face). The biggest button EVER!


My Mom has collected buttons for many years, mostly the kind that you pin on your shirt, but more recently she has begun collecting these types of buttons. She's found jars of them at antique stores, garage sales, estate sales. Plastic, metal, large, small - but she'd never seen a button quite this large. I decided that she must have this giant button, and I wanted to make her a 'Button collector' sign to hang in her home. I wandered around HobLob, trying to find the perfect thing to hang below the button, and I found this little guy, stuffed onto a random shelf. Perfect!


I was not fan of the beaded wire (so I removed that) or the plain ceramic front. I had leftover scrap fabric from  some IKEA curtains that I bought and hemmed when I first bought my house. They're almost a burlap without the scratchy surface.


After removing the beaded wire with some tiny needlenose pliers, I cut the fabric to size and started pulling the fabric tight and hot gluing it in place. The front is a little on the wonky side if you look super close (I got a little carried away with the amount of hot glue I used - just a thin line or squiggle will do juuuuuust fine). I let it dry for a bit and then came in with a pencil and lightly drew out the word. 

I first tried hot glue, but it was too thick and dried too quickly. Next I tried Aleen's fabric fusion glue, but I guess Aleen doesn't think yarn is a 'fabric' because it didn't stick. At all. Third time's a charm, YAY, because the cheap brand fabric glue worked perfectly. And it goes down white, but dries clear. I did one letter at a time so I didn't smear the glue.


There were two small holes in the top of the plaque (where the beaded wire was earlier), so I threaded a yarn needle with the orange yarn and pocked it through one of the holes, then wound the yarn in through the holes in the button, and back to the other hole in the plaque. Tie it off on both ends, and VOILA! I'm going to leave the hanging choice to her (you could glue a photo hanger on the back, or use those 3M Command Photo Hanging Strips to the back. I haven't used them yet, but I love their Command hooks (I'll show you my jewelry organization area in next week's project!).


I sent Mom a photo, because I just couldn't wait for her to see it. She loved it!

Total cost of sign:
Giant button - $8 with a 40% off coupon
Ceramic sign - $3.99
Glue/fabric/yarn - already had

Success! Make something this week!

Monday, March 12, 2012

DIY Chalkboard Paint, 7/52

I know. I'm 3 weeks behind! Ack! I promise I'll catch up.


DIY Chalkboard Paint

No need to pay $25 a quart for chalkboard paint, make your own in ANY color! After seeing several posts in the blogosphere about this, I knew I wanted to try it myself. I cannot believe how easy this project is. Here are the supplies you'll need:

Supplies:
  • Dry Non-Sanded Grout - I bought mine from Home Depot for $5ish ( I can't remember exactly), but it's a small tub. You'll only use a teaspoon or two for each project, so this could last you for AGES.
  • Acrylic paint of your choice (I only used one bottle)
  • Foam brush
  • Surface to paint on - I got a wooden plaque from Michael's for $3.99
  • Total - $10 or so (with the initial purchase of the grout)
Mix 1 1/2tsp with your acrylic paint. I used almost a full bottle (the smaller ones). Be sure you're in a well-ventilated area, the powdered grout is 'dusty.' If you're doing this project with the kiddos, I'd suggest using those little paper masks for the mixing part.


Next, paint! The paint will be a little bit grainy, and that's perfect. It will even out when you paint. I painted 3 coats on my wooden plaque. Let it dry completely (an hour or so). After it is dry, you'll need to prime your chalkboard for it's first use by running a piece of chalk over the entire painted surface. And VOILA! You're ready to go!


Seriously, that's it. Run by your local hardware store on the way home from work. There are SO many projects you could do with this chalkboard paint!


Friday, February 17, 2012

Slow-Cooker BBQ Pulled Pork, 6/52

Ok, so I know it's not technically a craft, BUT. I've never made pulled pork before, and this recipe is just SO incredibly yummy that I have to share it with you. And I was out of town over the weekend and didn't have a chance to get crafty.

Here's what you need:

2lb pork loin
Can of Root Beer

18 oz bottle of BBQ sauce (I used Sweet Baby Ray's - it is one of my faves)

That's it. Seriously. No salt or pepper or anything else.

Put the pork loin in your slow cooker, add the can of root beer. It acts as a tenderizer for the meat, and after you add the BBQ you can't taste it at all. You could also use Coke or Dr. Pepper if you don't like Root Beer.

Cook on low for 6 hours (or until the pork is done). Remove the pork from your cooker and dump out the root beer. Shred your pork loin with a couple of forks, and put the meat back in your cooker with the bottle of BBQ. Let it cook on low (or warm) for another 20 or 30 minutes. That's it.

Make it tonight.

Recipe found via pinterest here.

Monday, February 06, 2012

Mod-Podge Letter, 5/52

Until this project, I had never used Mod-Podge. GASP!!! I know! How can you call yourself a true crafter if you've never used Mod-Podge before?! I guess now I'm a true crafter. Hooray!


There's a wall in my living room that, for over a year, has sported a giant OU flag. BOOMER!! But - it is time to actually decorate that space. And don't worry, the OU flag will be used somewhere else, probably outside somewhere. Anyhow. I decided several months ago that I wanted to showcase some of my concert photography on that wall. I looooove live music, it's one of my favorite things to do. Ask anyone I know. I go to a LOT of shows. A lot.

I knew I didn't want to just make it a gallery wall, I wanted to spice it up a bit. I set out to find letters to spell out MUSIC. And I wanted each letter to be different. I now have all but one, still looking for a cool S.

For the U, I decided to get a cardboard letter and mod-podge it. I found some cool scrapbook paper that had music notes, bought some Mod-Podge and got to work.


I spread a good layer of MP over the letter, and cut the paper to fit. Work one small section at a time so the MP doesn't dry.


I added a layer of MP to the whole thing after all the parts and pieces were down. I didn't want it to be even and perfect, so I layered and pasted to cover all the spots.


I can't wait to show you the finished product. I just have to find a cool S!

Monday, January 30, 2012

Holiday Wreath, 4/52

This project involves yarn, but no crocheting skills are required. Hooray!

I've had a styro wreath since, oh, probably Thanksgiving. I was planning to do a felt rosette wreath (they're all over the blogosphere). I bought the white felt, the pins, etc. And then Yarnaholics kept me busy every spare moment of the day and I never got around to it before Christmas.

Instead of spending hours cutting felt circles, I decided to just wrap my wreath in white yarn (Red Heart, of course). I wanted white yarn so it could be used for several different holidays. This actually took much longer than I thought it would. You have to pass the whole skein of yarn through the hole in the wreath every. single. time. Luckily this weekend was HBO free preview weekend on DirecTV so I had plenty of movies to watch.


Start wrapping your yarn, tucking the tail end under the wrapped part. Wrap, wrap, and wrap some more. Wrap tightly, and push the yarn together as you go, so it's even and covers the wreath completely (for all of you OCD crafters like me).


Hot glue your end down and you're ready to start decorating. I bought this strand of glittery hearts at Micheal's. (shhhh, don't tell Hobby Lobby) I used straight pins to anchor the strand down so it doesn't slip. A little kick of red glittery ribbon and voila! Valentine's wreath!


I'm pretty pleased with the way it turned out. I'm still planning to do a felt wreath at some point. I should probably start on those circles...

Monday, January 23, 2012

Fabric Labels, 3/52

As promised, no yarn was used in the making of Project #3! Hooray! And let me tell you, it was way harder than I thought!


I found this project on Pinterest (you can follow me here). I'd been wanting to do a tag of some kind for our hats and other items. Nothing fancy, just a logo so people would remember where they bought it. When I saw this cool tutorial, I knew I wanted to try it.

Supplies you'll need:
transfer paper ($7.50 for 10 sheets at Michael's with a 25% off coupon)
1/2" cotton twill tape ($2.99 for a 12 ft spool at Hancock Fabrics)
computer program to print out your tags/logo
iron
parchment paper (takes the gloss off of the transferred image)


Many of the companies that make the transfer paper have software on their websites that will help you if you don't have any editing software. And you can always download The Gimp, it's a lot like Photoshop, but it's FREE!

Back to the project. Design your logo how you'd like it to appear on the tags, make sure the sizing is correct (the tape I got was 1/2"), and then you'll have to flip the entire image so it's backwards. This is especially important if you have text in your image.


Test print on a regular sheet of paper to be sure how to insert your transfer paper into the printer (put a mark in one corner and then print a test page). Print your image!

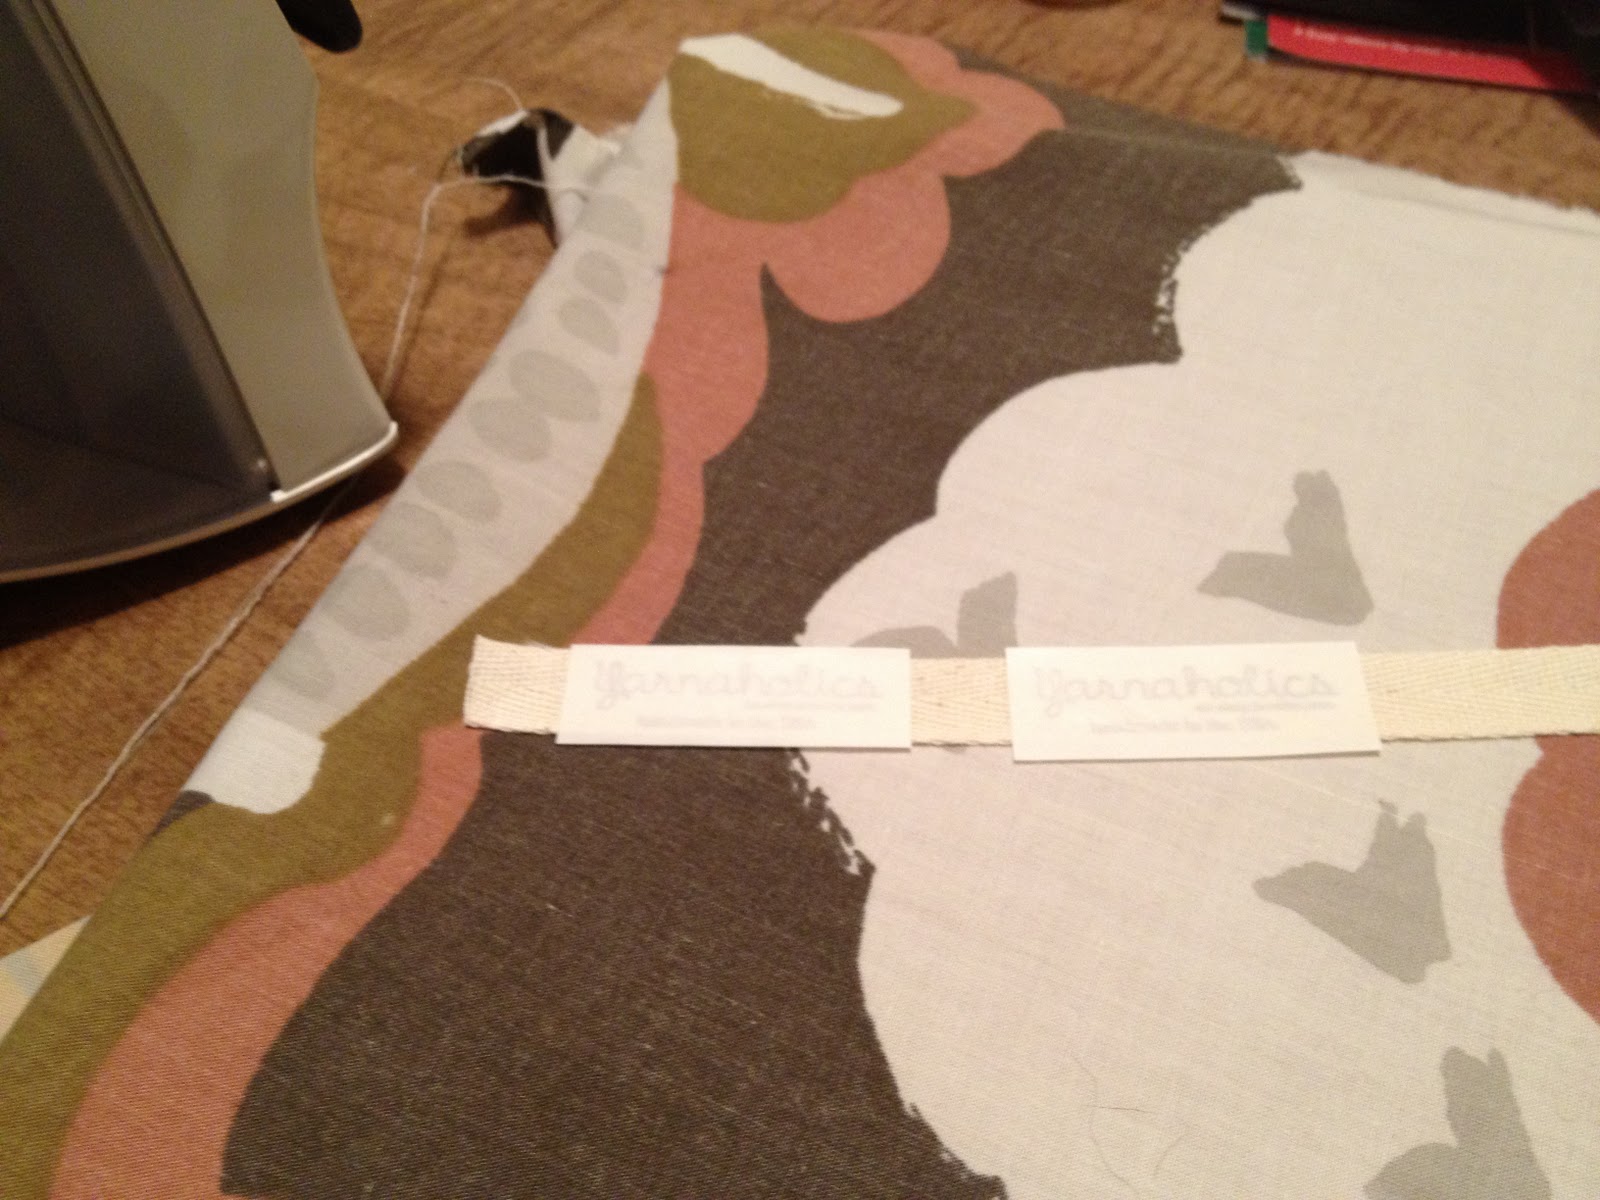
Cut your logos into strips and lay out your cotton tape. I did this on my dining room table and used a piece of fabric wrapped around cardboard as my ironing surface.


Iron the section of tape and then carefully lay down your transfer strip, making sure it's centered onto the tape. Iron away! Follow the instructions on your transfer paper for specifics.


Wait until the tape has cooled a bit and then peel off the backing paper. The transferred image will be a bit glossy. I didn't want that, so I placed some parchment paper on top and hit it with the iron again. It dissolves that glossy layer leaving a matte, kind of vintage/shabby chic image underneath. Cut and sew onto your project!

Super easy and I love the way they turned out.


Happy Crafting!

Monday, January 16, 2012

Furry Boots, 2/52

Ok. I know I said that every post would not be about yarn, but I found the pattern for these darling little boots and I just HAD to make them!! I promise, next week's project will have nothing to do with yarn. Pinky swear.


This pattern is courtesy of TwoGirlsPatterns (click to visit their etsy shop), and boy do they have some adorable patterns. I've also made the mary janes, and my Mom just bought 4 patterns from them. And there are some for the little boys out there too, so stay tuned for those in our etsy shop!

The loop stitch was a new one for me, so there was a definite learning curve. I was getting the hang of it on boot #2, and I was almost finished when I realized that I had just made 2 right boots. #&@(%#*. So after punching myself in the face a few times, I pulled out all of those carefully created loops and re-did the top part. They are super cute, and I've already had someone place an order. If you'd like your own pair of furry boots, keep an eye the Yarnaholics etsy page, they'll be listed soon!

I'm seriously considering making myself a pair! I just have to find some outdoor soles to attach them to. Hmm...

Happy Crafting!

UPDATE
Now available on Etsy: Crochet Ugg Inspired baby boots


Sunday, January 08, 2012

Yarn Letters, 1/52

Living in Texas and owning a small yarncraft business means one thing: when it gets hot, people do NOT want to buy things made of yarn. And it gets hot early. Like in April. So I needed to find some things I could do to get me through those hot months.

While looking on Pinterest the other day I found these! Super easy to do, but took me a bit of trial and error. But I can be a bit of a perfectionist when it comes to crafting.
 
Supplies: 
Letters - these can be any size and material of your choosing. I went with simple 8" chipboard letters from Hobby Lobby

Glue - this makes covering the edges MUCH easier, you can do fabric/craft glue or hot glue

Yarn - a good use of your yarn stash, or buy color(s) that coordinate with your decor

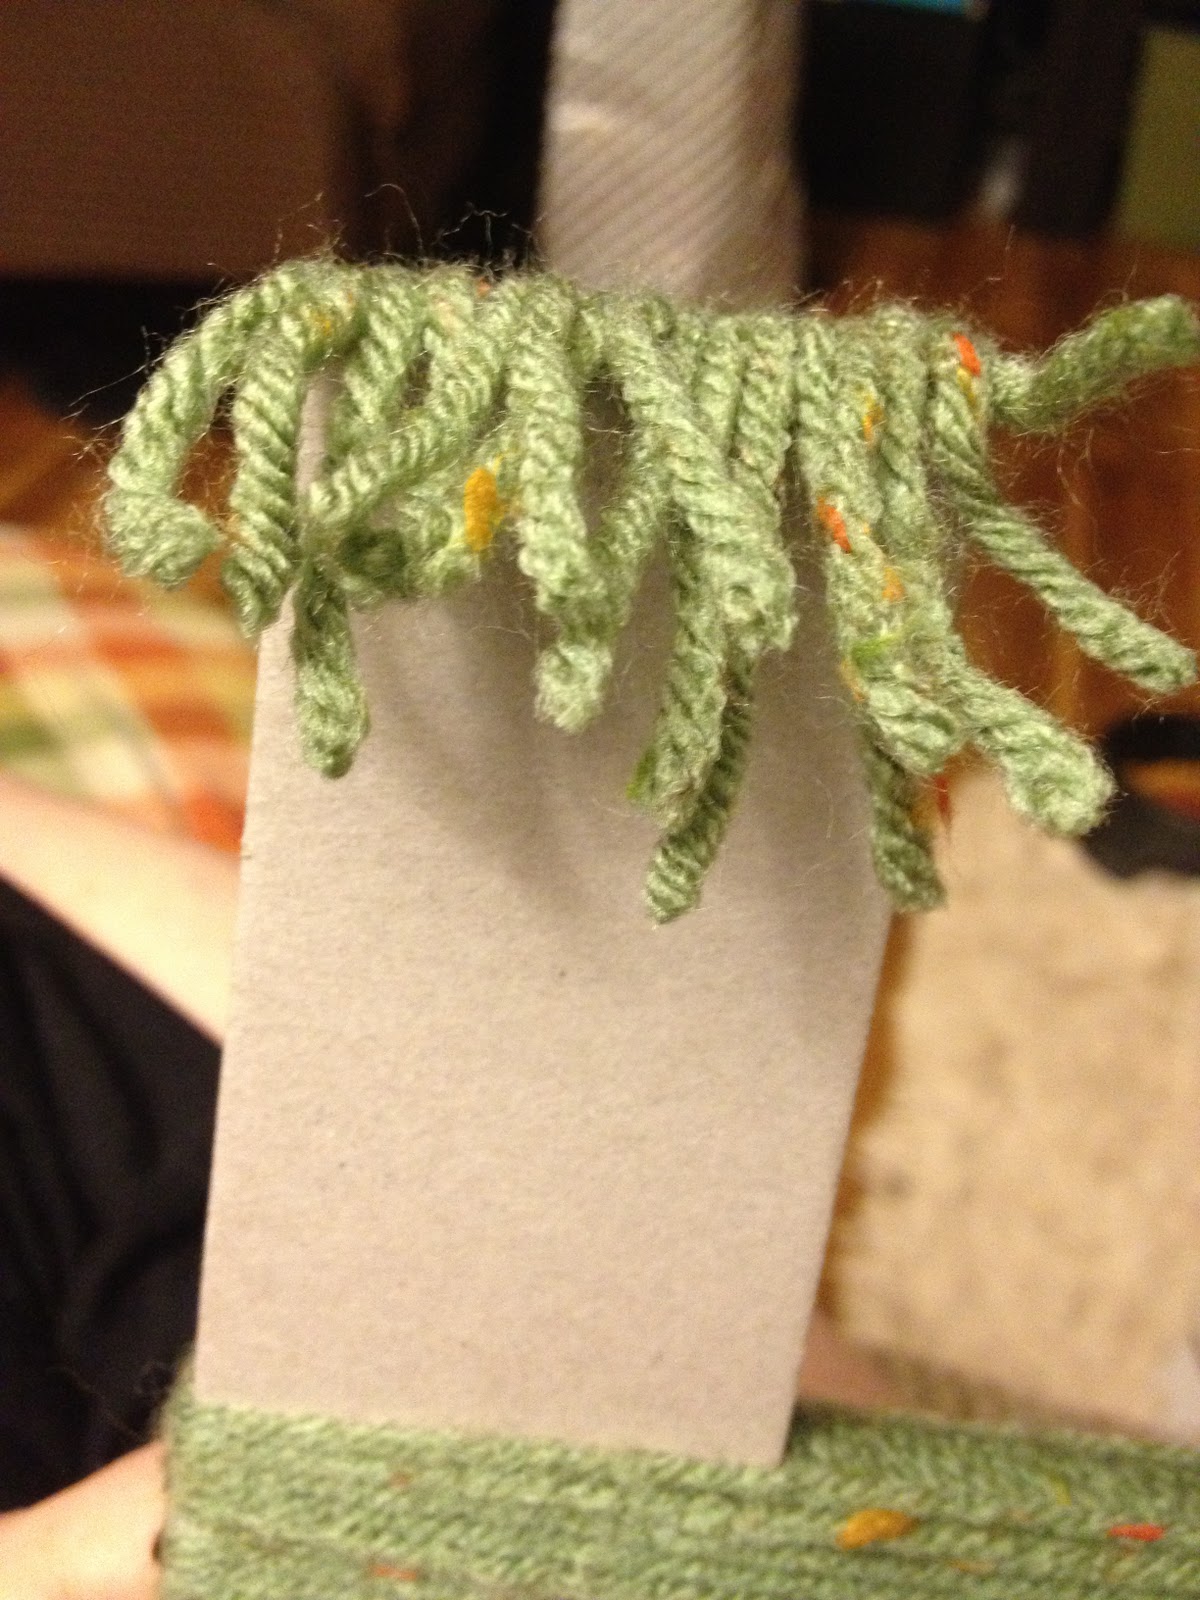
I chose to do the letter H, for Heather. Start by cutting several small pieces of yarn, maybe 4" or so. You'll glue these pieces to the end of your letters.

 You can glue down the ends as well, makes it easier to wrap the yarn around without them peeking out. But don't worry if they do, you'll be doing another layer to cover it anyway.
 

I did the middle of the H first, and then did the sides. I chose to wrap my yarn in the direction that you write the letter, to add a little more visual interest. After you glue the yarn pieces on the end, start wrapping the yarn in the opposite direction of the final product. You'll want a double layer so the chipboard is completely covered. Wrap slowly, and push the yarn together as you go, so it is tightly wrapped.


Approximate time spent: 30 minutes Money spent: $5 (glue and letter) You can set these on a shelf, hang them on the wall, put them in a frame...there are lots of possibilities! These would be wonderful in a nursery or child's room. Happy crafting!