Showing posts with label diy. Show all posts

Wednesday, July 11, 2012

Photos on Mini-Canvas, 9 /52

I've been wanting to try my hand at transferring photos to canvas for awhile now. I just got back from Trinidad and have tons of great photos that are just begging to be displayed.

While wandering the aisles at Michaels today I found a 4-pack of 3" square canvas, stretched onto tiny wood frames and already primed! They were $4.99 but with the 40% coupon it was a total steal. Btw if you don't have the apps for both Michaels and Hobby Lobby, stop everything you're doing and download them. Back to the DIY!

Materials needed:
Canvas
ModPodge
Foam brush
Photos

I printed my photos on a color laserjet, at 4" square. This will give you enough room to wrap your photos around the sides of the canvas. You could also paint the edges if you don't want to wrap them. Remember, if you're going to wrap the edges, be sure you center your images with that in mind.

Cover your canvas with ModPodge and center your photo on top. Wait a few minutes for it to dry, and then wrap and ModPodge your edges. Fold the corners down just like you are wrapping a present. When that dries, ModPodge the top and sides. I did mine with two coats of the matte, but I bet glossy would look great too!

They dry pretty quickly. I absolutely love them, and wish I had bought a few more packages of the canvas!

I will definitely be doing this project again!


I decided to hang mine with a ribbon (just staple the ribbon along the back and make a loop at the top. Easy peasy! :)

Monday, March 19, 2012

Button Collector, 8/52

Look at me! Two weeks in a ROW! :)


This week's DIY is all me. No pinterest, no blogs, just me! While shopping at HobLob one day I found this lovely gem (please forgive my tired, no-makeup face). The biggest button EVER!


My Mom has collected buttons for many years, mostly the kind that you pin on your shirt, but more recently she has begun collecting these types of buttons. She's found jars of them at antique stores, garage sales, estate sales. Plastic, metal, large, small - but she'd never seen a button quite this large. I decided that she must have this giant button, and I wanted to make her a 'Button collector' sign to hang in her home. I wandered around HobLob, trying to find the perfect thing to hang below the button, and I found this little guy, stuffed onto a random shelf. Perfect!


I was not fan of the beaded wire (so I removed that) or the plain ceramic front. I had leftover scrap fabric from  some IKEA curtains that I bought and hemmed when I first bought my house. They're almost a burlap without the scratchy surface.


After removing the beaded wire with some tiny needlenose pliers, I cut the fabric to size and started pulling the fabric tight and hot gluing it in place. The front is a little on the wonky side if you look super close (I got a little carried away with the amount of hot glue I used - just a thin line or squiggle will do juuuuuust fine). I let it dry for a bit and then came in with a pencil and lightly drew out the word. 

I first tried hot glue, but it was too thick and dried too quickly. Next I tried Aleen's fabric fusion glue, but I guess Aleen doesn't think yarn is a 'fabric' because it didn't stick. At all. Third time's a charm, YAY, because the cheap brand fabric glue worked perfectly. And it goes down white, but dries clear. I did one letter at a time so I didn't smear the glue.


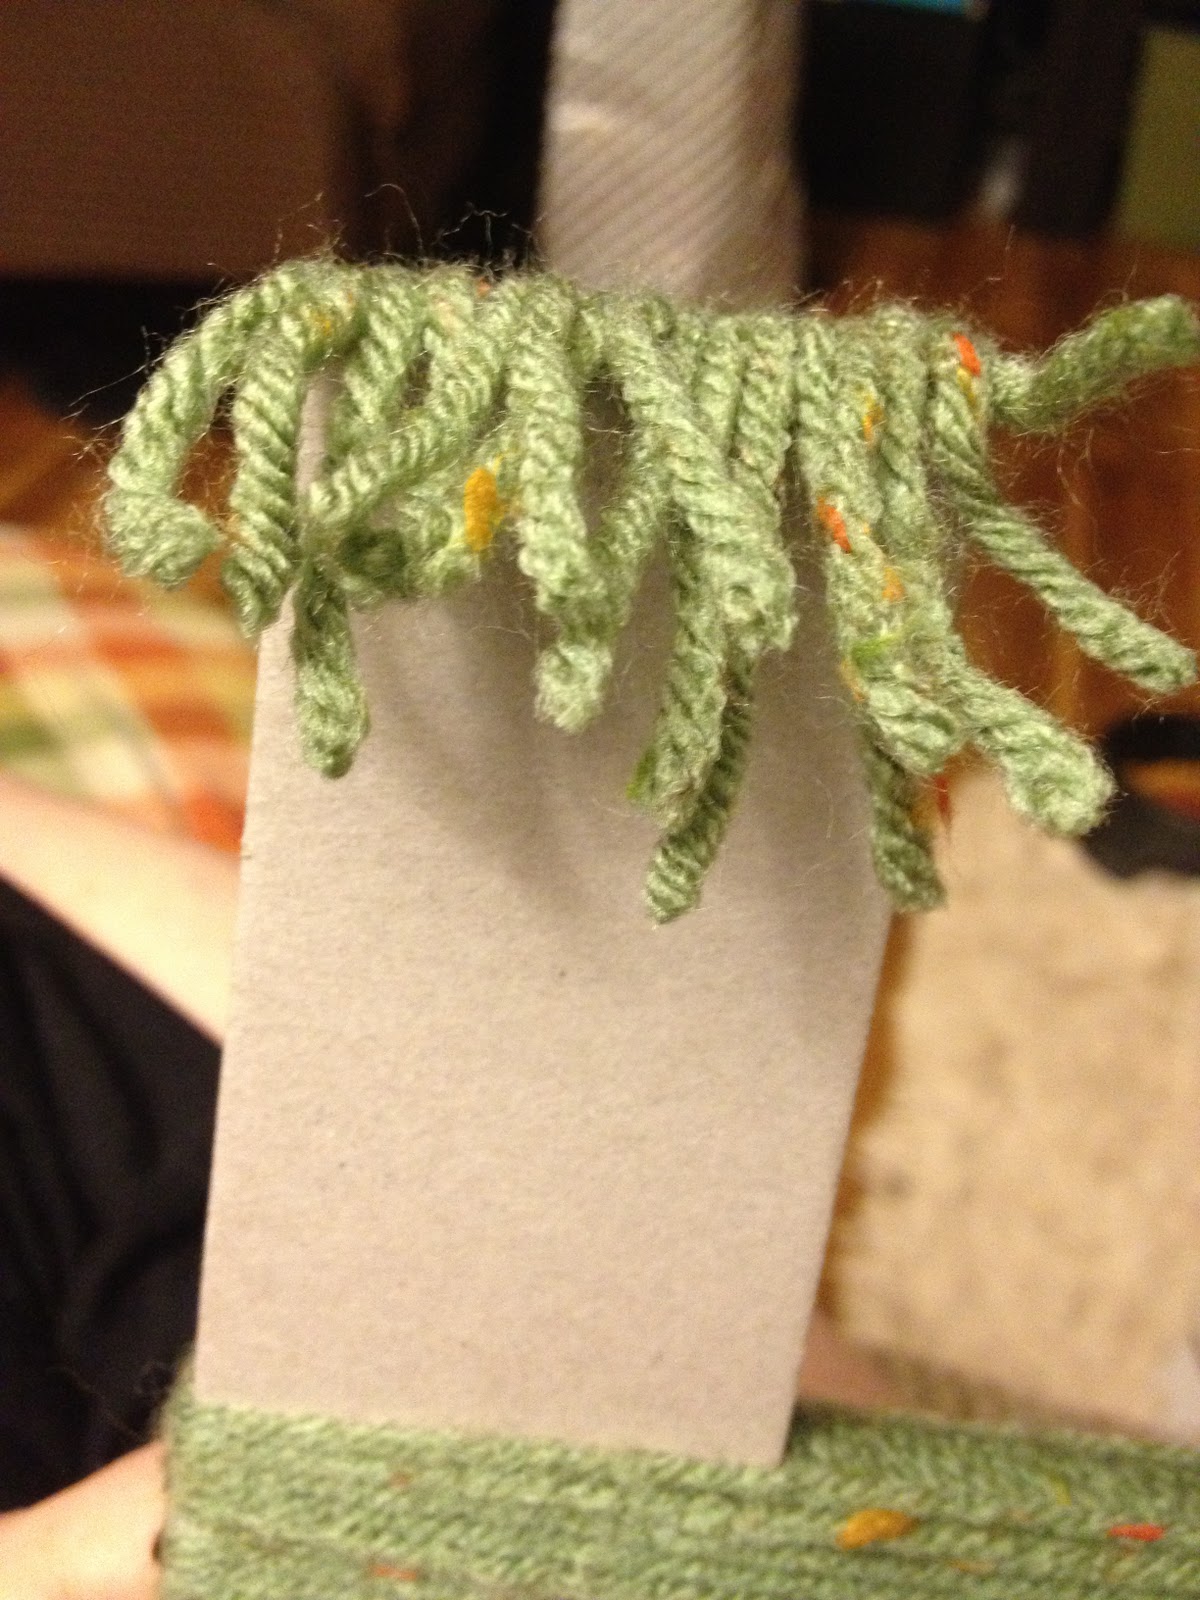
There were two small holes in the top of the plaque (where the beaded wire was earlier), so I threaded a yarn needle with the orange yarn and pocked it through one of the holes, then wound the yarn in through the holes in the button, and back to the other hole in the plaque. Tie it off on both ends, and VOILA! I'm going to leave the hanging choice to her (you could glue a photo hanger on the back, or use those 3M Command Photo Hanging Strips to the back. I haven't used them yet, but I love their Command hooks (I'll show you my jewelry organization area in next week's project!).


I sent Mom a photo, because I just couldn't wait for her to see it. She loved it!

Total cost of sign:
Giant button - $8 with a 40% off coupon
Ceramic sign - $3.99
Glue/fabric/yarn - already had

Success! Make something this week!

Monday, March 12, 2012

DIY Chalkboard Paint, 7/52

I know. I'm 3 weeks behind! Ack! I promise I'll catch up.


DIY Chalkboard Paint

No need to pay $25 a quart for chalkboard paint, make your own in ANY color! After seeing several posts in the blogosphere about this, I knew I wanted to try it myself. I cannot believe how easy this project is. Here are the supplies you'll need:

Supplies:
  • Dry Non-Sanded Grout - I bought mine from Home Depot for $5ish ( I can't remember exactly), but it's a small tub. You'll only use a teaspoon or two for each project, so this could last you for AGES.
  • Acrylic paint of your choice (I only used one bottle)
  • Foam brush
  • Surface to paint on - I got a wooden plaque from Michael's for $3.99
  • Total - $10 or so (with the initial purchase of the grout)
Mix 1 1/2tsp with your acrylic paint. I used almost a full bottle (the smaller ones). Be sure you're in a well-ventilated area, the powdered grout is 'dusty.' If you're doing this project with the kiddos, I'd suggest using those little paper masks for the mixing part.


Next, paint! The paint will be a little bit grainy, and that's perfect. It will even out when you paint. I painted 3 coats on my wooden plaque. Let it dry completely (an hour or so). After it is dry, you'll need to prime your chalkboard for it's first use by running a piece of chalk over the entire painted surface. And VOILA! You're ready to go!


Seriously, that's it. Run by your local hardware store on the way home from work. There are SO many projects you could do with this chalkboard paint!


Monday, February 06, 2012

Mod-Podge Letter, 5/52

Until this project, I had never used Mod-Podge. GASP!!! I know! How can you call yourself a true crafter if you've never used Mod-Podge before?! I guess now I'm a true crafter. Hooray!


There's a wall in my living room that, for over a year, has sported a giant OU flag. BOOMER!! But - it is time to actually decorate that space. And don't worry, the OU flag will be used somewhere else, probably outside somewhere. Anyhow. I decided several months ago that I wanted to showcase some of my concert photography on that wall. I looooove live music, it's one of my favorite things to do. Ask anyone I know. I go to a LOT of shows. A lot.

I knew I didn't want to just make it a gallery wall, I wanted to spice it up a bit. I set out to find letters to spell out MUSIC. And I wanted each letter to be different. I now have all but one, still looking for a cool S.

For the U, I decided to get a cardboard letter and mod-podge it. I found some cool scrapbook paper that had music notes, bought some Mod-Podge and got to work.


I spread a good layer of MP over the letter, and cut the paper to fit. Work one small section at a time so the MP doesn't dry.


I added a layer of MP to the whole thing after all the parts and pieces were down. I didn't want it to be even and perfect, so I layered and pasted to cover all the spots.


I can't wait to show you the finished product. I just have to find a cool S!

Monday, January 30, 2012

Holiday Wreath, 4/52

This project involves yarn, but no crocheting skills are required. Hooray!

I've had a styro wreath since, oh, probably Thanksgiving. I was planning to do a felt rosette wreath (they're all over the blogosphere). I bought the white felt, the pins, etc. And then Yarnaholics kept me busy every spare moment of the day and I never got around to it before Christmas.

Instead of spending hours cutting felt circles, I decided to just wrap my wreath in white yarn (Red Heart, of course). I wanted white yarn so it could be used for several different holidays. This actually took much longer than I thought it would. You have to pass the whole skein of yarn through the hole in the wreath every. single. time. Luckily this weekend was HBO free preview weekend on DirecTV so I had plenty of movies to watch.


Start wrapping your yarn, tucking the tail end under the wrapped part. Wrap, wrap, and wrap some more. Wrap tightly, and push the yarn together as you go, so it's even and covers the wreath completely (for all of you OCD crafters like me).


Hot glue your end down and you're ready to start decorating. I bought this strand of glittery hearts at Micheal's. (shhhh, don't tell Hobby Lobby) I used straight pins to anchor the strand down so it doesn't slip. A little kick of red glittery ribbon and voila! Valentine's wreath!


I'm pretty pleased with the way it turned out. I'm still planning to do a felt wreath at some point. I should probably start on those circles...

Sunday, January 08, 2012

Yarn Letters, 1/52

Living in Texas and owning a small yarncraft business means one thing: when it gets hot, people do NOT want to buy things made of yarn. And it gets hot early. Like in April. So I needed to find some things I could do to get me through those hot months.

While looking on Pinterest the other day I found these! Super easy to do, but took me a bit of trial and error. But I can be a bit of a perfectionist when it comes to crafting.
 
Supplies: 
Letters - these can be any size and material of your choosing. I went with simple 8" chipboard letters from Hobby Lobby

Glue - this makes covering the edges MUCH easier, you can do fabric/craft glue or hot glue

Yarn - a good use of your yarn stash, or buy color(s) that coordinate with your decor

I chose to do the letter H, for Heather. Start by cutting several small pieces of yarn, maybe 4" or so. You'll glue these pieces to the end of your letters.

 You can glue down the ends as well, makes it easier to wrap the yarn around without them peeking out. But don't worry if they do, you'll be doing another layer to cover it anyway.
 

I did the middle of the H first, and then did the sides. I chose to wrap my yarn in the direction that you write the letter, to add a little more visual interest. After you glue the yarn pieces on the end, start wrapping the yarn in the opposite direction of the final product. You'll want a double layer so the chipboard is completely covered. Wrap slowly, and push the yarn together as you go, so it is tightly wrapped.


Approximate time spent: 30 minutes Money spent: $5 (glue and letter) You can set these on a shelf, hang them on the wall, put them in a frame...there are lots of possibilities! These would be wonderful in a nursery or child's room. Happy crafting!

Friday, May 21, 2010

The Floors, Part Two!

As Dad finished one room, Mom and I would get to work cleaning. Sweep, shop-vac, vacuum, big dust mop, and then microfiber dust mop. I decided not to stain the floors, because I really loved the tone of the white oak (it antiques as it ages). I went with a water-based poly, as it dries much quicker than oil and doesn't smell nearly as bad.

Start in the corner farthest from the door so you poly yourself out of the room. Mom cut in the edges with a brush and I followed with the synthetic applicator. Go with the grain of the wood, and always keep a wet edge (this helps avoid lift marks). They recommend 3 coats of poly to make the floor durable, and you'll want to scuff sand with 220 grit sandpaper between the final two coats.

After several hours of sanding and cleaning and sealing, two weekends of hard work, here's the final product:


I'm SO happy I decided to do this instead of hiring someone to do it (though I'm not sure my parents would agree, haha). But I saved a TON of money and I have the satisfaction of all of our hard work resulting in beautiful floors.

The living room is the only room not done, but that's on the to-do list for this week.

A big thank you to my folks for spending so many hours helping me.

If you are thinking about doing this, I recommend visiting Russet Street Reno and looking through her instructions. I used those as a guideline for doing my floors. Very helpful! Thanks Sara!

The Floors, Part 1

Do you remember what the floors looked like when I moved in? Carpet. Old carpet. Old carpet that appeared OK upon closing, but after a few weeks the newly shampooed smell wore off. No matter, the plan was always to yank it out and reveal the gorgeous (hopefully) wood floors underneath.

Roxie dog. She's ready for the carpet to go.

This lovely carpet was in the living room and all three bedrooms.

With the help of my amazing parents, we spent a few solid weekends pulling carpet, staples, nails, tack strips, sanding, sweeping, sanding, sweeping, cleaning, sealing....well, you get the idea.

Good riddance carpet!

Close-up of the LR floor.

The floors were in OK shape, but there were a lot of stains, scratches, stickers, paint, glitter...all of that needed to disappear.

Scraping at a stubborn sticker/paint in the pink room.

I rented a drum sander (we ended up needing it 2 separate weekends) and we got to work. Though not a difficult task, it definitely was dirty, dusty, and very time consuming. We sanded each room multiple times, starting with the lowest grit (30) and moving up (100). It is a very good idea to tape off the room as you're sanding, otherwise there will be dust EVERYWHERE. Oh, and turn off the a/c and tape off the air vents too.


You also have to sand the edges with a hand-sander where the drum sander won't reach. After the rooms have been sanded with all grits (finishing with the 100), and the edges have been sanded, it's time to clean, clean, clean!

Stay tuned for Part Two and the reveal!!