Monday, January 30, 2012

Holiday Wreath, 4/52

This project involves yarn, but no crocheting skills are required. Hooray!

I've had a styro wreath since, oh, probably Thanksgiving. I was planning to do a felt rosette wreath (they're all over the blogosphere). I bought the white felt, the pins, etc. And then Yarnaholics kept me busy every spare moment of the day and I never got around to it before Christmas.

Instead of spending hours cutting felt circles, I decided to just wrap my wreath in white yarn (Red Heart, of course). I wanted white yarn so it could be used for several different holidays. This actually took much longer than I thought it would. You have to pass the whole skein of yarn through the hole in the wreath every. single. time. Luckily this weekend was HBO free preview weekend on DirecTV so I had plenty of movies to watch.


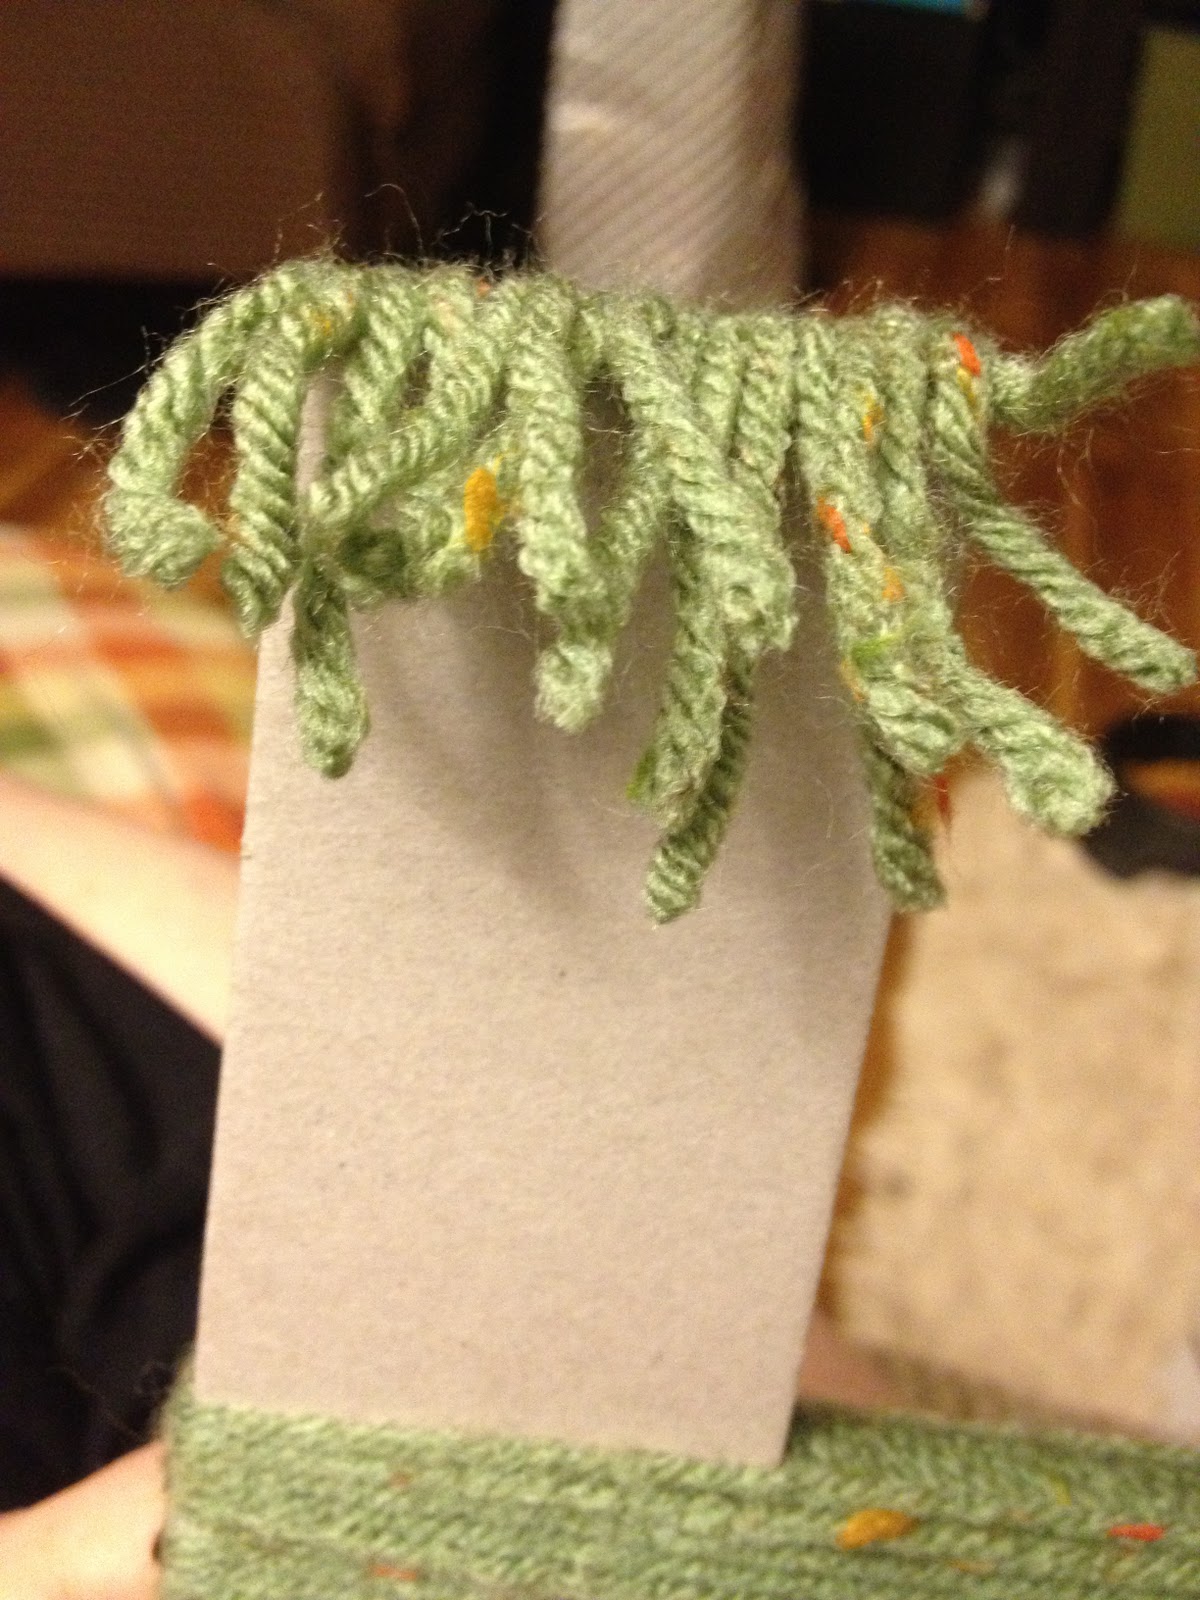
Start wrapping your yarn, tucking the tail end under the wrapped part. Wrap, wrap, and wrap some more. Wrap tightly, and push the yarn together as you go, so it's even and covers the wreath completely (for all of you OCD crafters like me).


Hot glue your end down and you're ready to start decorating. I bought this strand of glittery hearts at Micheal's. (shhhh, don't tell Hobby Lobby) I used straight pins to anchor the strand down so it doesn't slip. A little kick of red glittery ribbon and voila! Valentine's wreath!


I'm pretty pleased with the way it turned out. I'm still planning to do a felt wreath at some point. I should probably start on those circles...

Monday, January 23, 2012

Fabric Labels, 3/52

As promised, no yarn was used in the making of Project #3! Hooray! And let me tell you, it was way harder than I thought!


I found this project on Pinterest (you can follow me here). I'd been wanting to do a tag of some kind for our hats and other items. Nothing fancy, just a logo so people would remember where they bought it. When I saw this cool tutorial, I knew I wanted to try it.

Supplies you'll need:
transfer paper ($7.50 for 10 sheets at Michael's with a 25% off coupon)
1/2" cotton twill tape ($2.99 for a 12 ft spool at Hancock Fabrics)
computer program to print out your tags/logo
iron
parchment paper (takes the gloss off of the transferred image)


Many of the companies that make the transfer paper have software on their websites that will help you if you don't have any editing software. And you can always download The Gimp, it's a lot like Photoshop, but it's FREE!

Back to the project. Design your logo how you'd like it to appear on the tags, make sure the sizing is correct (the tape I got was 1/2"), and then you'll have to flip the entire image so it's backwards. This is especially important if you have text in your image.


Test print on a regular sheet of paper to be sure how to insert your transfer paper into the printer (put a mark in one corner and then print a test page). Print your image!

Cut your logos into strips and lay out your cotton tape. I did this on my dining room table and used a piece of fabric wrapped around cardboard as my ironing surface.


Iron the section of tape and then carefully lay down your transfer strip, making sure it's centered onto the tape. Iron away! Follow the instructions on your transfer paper for specifics.


Wait until the tape has cooled a bit and then peel off the backing paper. The transferred image will be a bit glossy. I didn't want that, so I placed some parchment paper on top and hit it with the iron again. It dissolves that glossy layer leaving a matte, kind of vintage/shabby chic image underneath. Cut and sew onto your project!

Super easy and I love the way they turned out.


Happy Crafting!

Thursday, January 19, 2012

I ❤ Granny Squares


Several months ago (June 2011 according to the photo timestamp) I made a bunch of granny squares. I had lofty goals in mind - a big blanket for the couch in 2 lovely shades of green with a reddish-pink as the accent color. So I go to work. I probably spent a month or so making squares. And then I got bored, and ran out of the red yarn shortly after that. So...the squares got stuffed into a basket and I hadn't thought about them again.


Until last week. I was working on some headbands and needed a soft green and VOILA!! Well hellooooo granny squares!! I just so happened to have a pillow form lying around so I got to work. It took me a bit to get the hang of joining them together (I decided on a half-double crochet with right sides facing), but after a few rows I was rolling. Er, joining. Whatever.

Anyhow, here's the finished product! I can't decide which side I like better, but I love it. And I have quite a few leftover, so this pillow may be getting buddy. Hooray for granny squares!


Monday, January 16, 2012

Furry Boots, 2/52

Ok. I know I said that every post would not be about yarn, but I found the pattern for these darling little boots and I just HAD to make them!! I promise, next week's project will have nothing to do with yarn. Pinky swear.


This pattern is courtesy of TwoGirlsPatterns (click to visit their etsy shop), and boy do they have some adorable patterns. I've also made the mary janes, and my Mom just bought 4 patterns from them. And there are some for the little boys out there too, so stay tuned for those in our etsy shop!

The loop stitch was a new one for me, so there was a definite learning curve. I was getting the hang of it on boot #2, and I was almost finished when I realized that I had just made 2 right boots. #&@(%#*. So after punching myself in the face a few times, I pulled out all of those carefully created loops and re-did the top part. They are super cute, and I've already had someone place an order. If you'd like your own pair of furry boots, keep an eye the Yarnaholics etsy page, they'll be listed soon!

I'm seriously considering making myself a pair! I just have to find some outdoor soles to attach them to. Hmm...

Happy Crafting!

UPDATE
Now available on Etsy: Crochet Ugg Inspired baby boots


Sunday, January 08, 2012

Yarn Letters, 1/52

Living in Texas and owning a small yarncraft business means one thing: when it gets hot, people do NOT want to buy things made of yarn. And it gets hot early. Like in April. So I needed to find some things I could do to get me through those hot months.

While looking on Pinterest the other day I found these! Super easy to do, but took me a bit of trial and error. But I can be a bit of a perfectionist when it comes to crafting.
 
Supplies: 
Letters - these can be any size and material of your choosing. I went with simple 8" chipboard letters from Hobby Lobby

Glue - this makes covering the edges MUCH easier, you can do fabric/craft glue or hot glue

Yarn - a good use of your yarn stash, or buy color(s) that coordinate with your decor

I chose to do the letter H, for Heather. Start by cutting several small pieces of yarn, maybe 4" or so. You'll glue these pieces to the end of your letters.

 You can glue down the ends as well, makes it easier to wrap the yarn around without them peeking out. But don't worry if they do, you'll be doing another layer to cover it anyway.
 

I did the middle of the H first, and then did the sides. I chose to wrap my yarn in the direction that you write the letter, to add a little more visual interest. After you glue the yarn pieces on the end, start wrapping the yarn in the opposite direction of the final product. You'll want a double layer so the chipboard is completely covered. Wrap slowly, and push the yarn together as you go, so it is tightly wrapped.


Approximate time spent: 30 minutes Money spent: $5 (glue and letter) You can set these on a shelf, hang them on the wall, put them in a frame...there are lots of possibilities! These would be wonderful in a nursery or child's room. Happy crafting!

Friday, January 06, 2012

Project 52

It's 2012! So much more fun to say than 2011, which definitely means this year will be even better than last year. And last year was pretty sweet - we launched Yarnaholics at the end of August and it was a nonstop yarn bonanza all the way through Christmas. We're super excited about what 2012 will bring, so stay tuned for that.

Anyhow, on to Project 52. I was bouncing around the crafty blogosphere the other day and pinned all sorts of fun things (thank you Pinterest!). The lovely ladies over at A Beautiful Mess (you should definitely check out their blog and shop, it's divine) have resolved to do 52 craft projects this year, and I thought that would be a wonderful way to stretch myself creatively. I'm in!!

This week's project involves YARN! Gasp!! I know, you're shocked. You're thinking, wait a second, this exercise is supposed to stretch you creatively! It will. I plan to do many different types of projects from woodworking (another goal of mine - hellooooooo power tools!), to tile, to jewelry, and so on.

I also plan to do a little DIY Tutorial for each project. I will be posting this week's project on Monday.

Happy Crafting!