
I found this project on Pinterest (you can follow me here). I'd been wanting to do a tag of some kind for our hats and other items. Nothing fancy, just a logo so people would remember where they bought it. When I saw this cool tutorial, I knew I wanted to try it.
Supplies you'll need:
transfer paper ($7.50 for 10 sheets at Michael's with a 25% off coupon)
1/2" cotton twill tape ($2.99 for a 12 ft spool at Hancock Fabrics)
computer program to print out your tags/logo
iron
parchment paper (takes the gloss off of the transferred image)

Many of the companies that make the transfer paper have software on their websites that will help you if you don't have any editing software. And you can always download The Gimp, it's a lot like Photoshop, but it's FREE!
Back to the project. Design your logo how you'd like it to appear on the tags, make sure the sizing is correct (the tape I got was 1/2"), and then you'll have to flip the entire image so it's backwards. This is especially important if you have text in your image.

Test print on a regular sheet of paper to be sure how to insert your transfer paper into the printer (put a mark in one corner and then print a test page). Print your image!
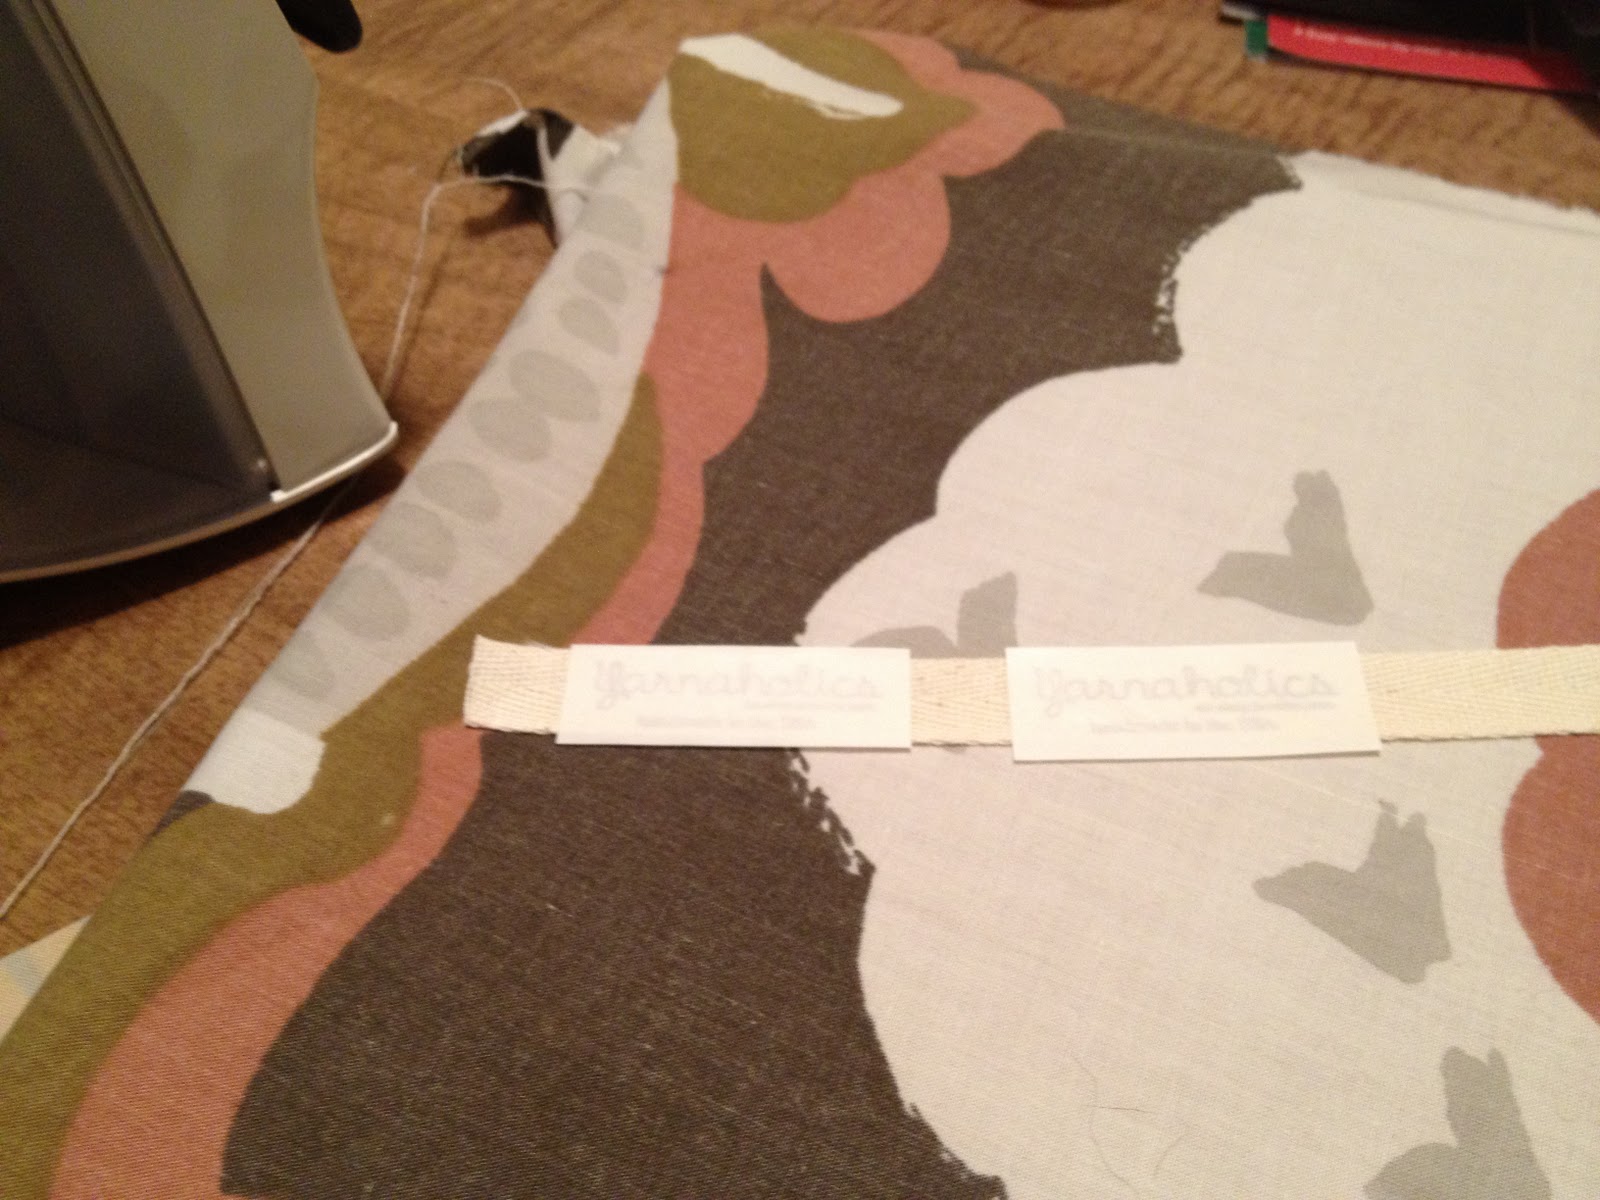
Cut your logos into strips and lay out your cotton tape. I did this on my dining room table and used a piece of fabric wrapped around cardboard as my ironing surface.

Iron the section of tape and then carefully lay down your transfer strip, making sure it's centered onto the tape. Iron away! Follow the instructions on your transfer paper for specifics.


Wait until the tape has cooled a bit and then peel off the backing paper. The transferred image will be a bit glossy. I didn't want that, so I placed some parchment paper on top and hit it with the iron again. It dissolves that glossy layer leaving a matte, kind of vintage/shabby chic image underneath. Cut and sew onto your project!
Super easy and I love the way they turned out.


Happy Crafting!


1 comments:
I LOVE this! Thank you so much. I will for sure be trying this.
Post a Comment